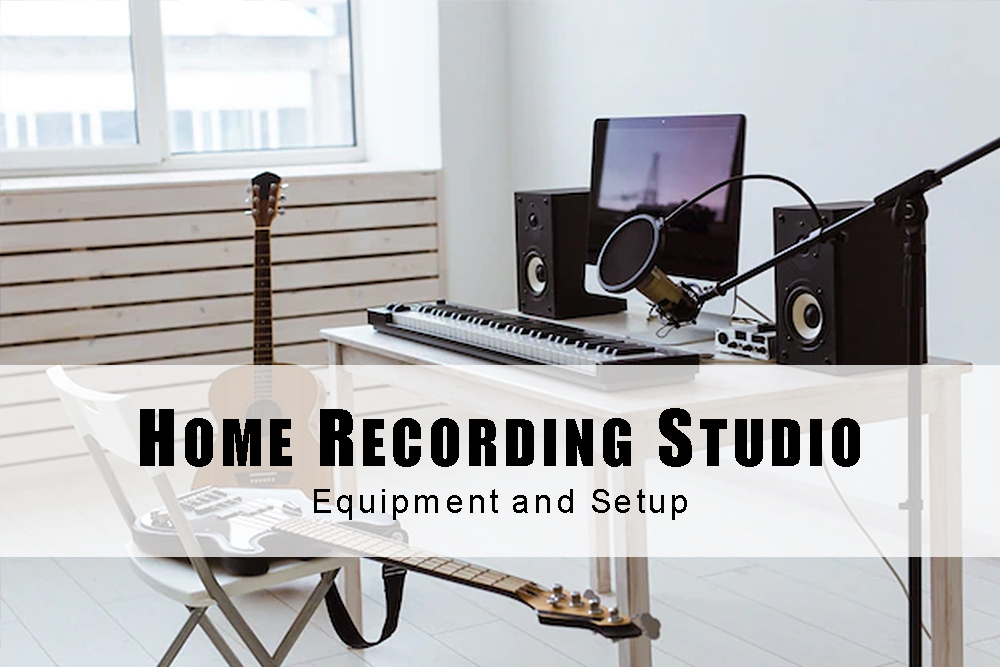
Sharing your music has never been easier with the help of a few gadgets. So how do you go about recording your own music at home, and what equipment do you need?
Apart from your musical instrument, you’ll first need a computer/laptop/smartphone with an app that can record/mix your sound input. You’ll then need an audio interface and/or a microphone to transfer these sounds onto your computer. Lastly, a pair of headphones to monitor your recordings with.
In the following, we’ll be talking a little more in depth about how the actual recording process, computer software and APPs, equipment setup, and costs.
Home Recording Using a Computer or Smartphone
To begin with your first recording project, you’ll need to have a computer/laptop. It doesn’t have to be fancy, a mid-range computer/laptop that has 8 gigabytes of ram and about 128 gigabytes of storage space will be more than enough for a simple project.
The most important thing, however, is to have audio mixing software installed so that you can produce or edit your music with the different sound sources you’ve collected.
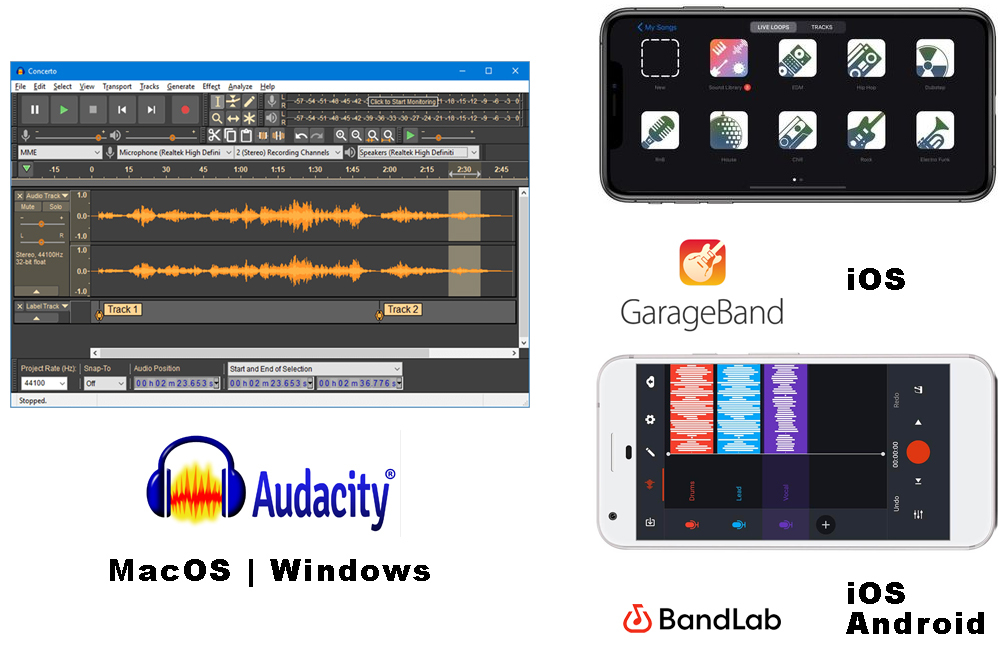
There are many free audio mixer software out there for you to choose from, such as Audacity, Sound Bridge, and Tracktion. Each with its pros and cons, but for free software, they’ll definitely get the job done.
If you don’t already have a computer/laptop, a smartphone with the right APPs installed will do too. For iOS users, GarageBand should be an existing APP on your phone by default. It’s a useful, free tool that you can use for recording, as well as mixing other tracks and midi sound into one project.
But if you’re an Android user, or you don’t have GarageBand, you can always download BandLab, which is also a free APP for recording music.
One word of advice, if you’re using your phone for your recording projects, it’s recommended that you also have at least an entry-level audio interface. That way, you’re able to ensure that the sound you’re receiving from your instruments and microphones is of much better quality.
Cost-wise, excluding the cost of a computer/laptop or a smartphone, at this point your cost is pretty much zero, as you’ll only be using free software and APPs.
 Home Recording with an Audio Interface
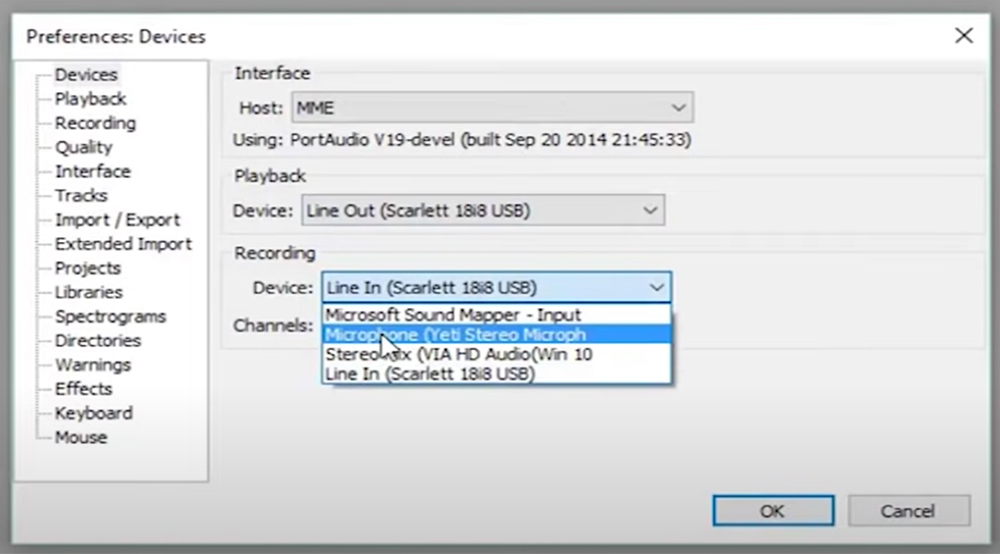
The purpose of using an audio interface is simply to convert signals from your instruments and microphones into data that a computer/laptop/smartphone can process. To learn more, here’s an article on audio interface.
So do you really need an audio interface for home recording projects?
Yes and no.
You do not need an audio interface if you’re not concerned about your sound quality. Simply use the in-built microphones on your computer/laptop or smartphone and you can start recording.
But if you want decent sound quality for your recordings, then using an audio interface will make a lot of difference, as you will now able to record clean sound of your instrument.
By plugging your instrument directly into the audio interface via a cable, and the audio interface hooked up to your computer, the sound from your instrument can now be set as the input source and be recorded without capturing the sound in the environment.
You will also be able to connect a microphone via an XLR cable to the audio interface and record high-quality vocals with your instruments.
Depending on your budget, audio interface units are available at a wide range of prices. Most entry-level models are very affordable and do a decent job.
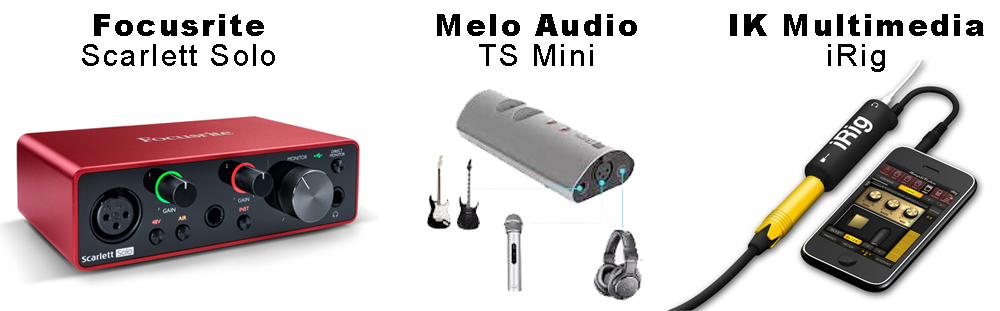
Something like the Melo’s TS Mini is a great entry-level option, suitable for use with both computers and smartphones. The iRig is the first of its kind, compact in design, and best suited for use with a smartphone.
Both are also very portable and allow you to record even when you’re outdoors.
 Home Recording with a Microphone
Microphones are integral to a home recording studio setup. Not only are they able to pick up detailed sounds (or vocals), but they’ll also be very helpful in situations where you’re unable to plug your instrument into an audio interface.
For example, most beginner guitarists would most likely be using an acoustic guitar without an on-board preamp. And since you’re unable to plug your guitar into an audio interface, you can either buy an attachable pickup with an output jack, or you can rely on a professional microphone for better quality recording.
To read more about microphones and how to choose one that suits your need, here’s an article you can refer to.
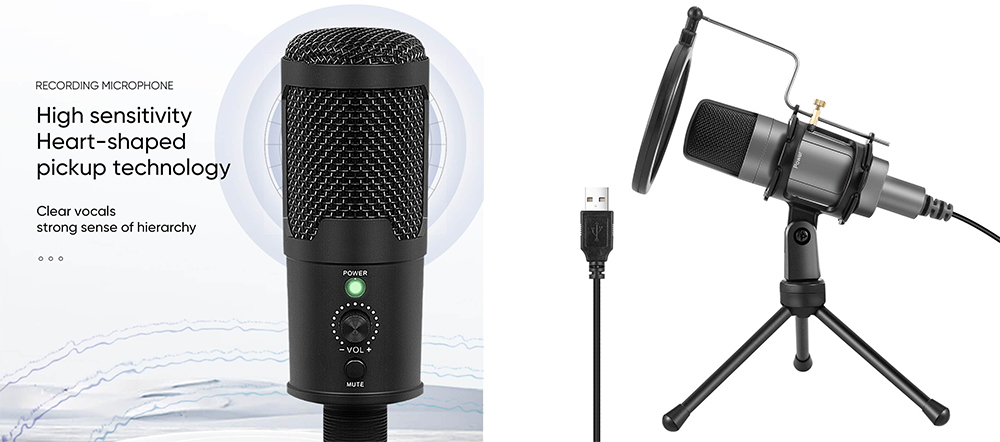
Another thing to consider if you have a small budget is, to simply buy a condenser microphone which you can plug directly into your computer’s usb port. And all you need is to have audio software installed, you’ll be able to start recording at home.
Though this isn’t the best quality option, it’s the simplest and cheapest way to start your first home recording project. And quality would still be better than recording directly into the microphone of your computer or smartphone.
Condenser microphones have a lot of options and are very affordable these days。
What Headphones to Use in Recording Sessions
During recordings, it’ll be helpful, though not a must, to have over-the-ear style headphones.
The first obvious reason for using a headphone during recording is it allows you to monitor what’s being recorded, otherwise you’ll only be hearing the sound of your metal strings being plucked or strummed.
Of course, you can use wired earphones that have been laying around, but the second reason for using over-the-ear headphones is that it creates a seal around your ears, and can block out irrelevant sounds, giving you more accurate feedback.
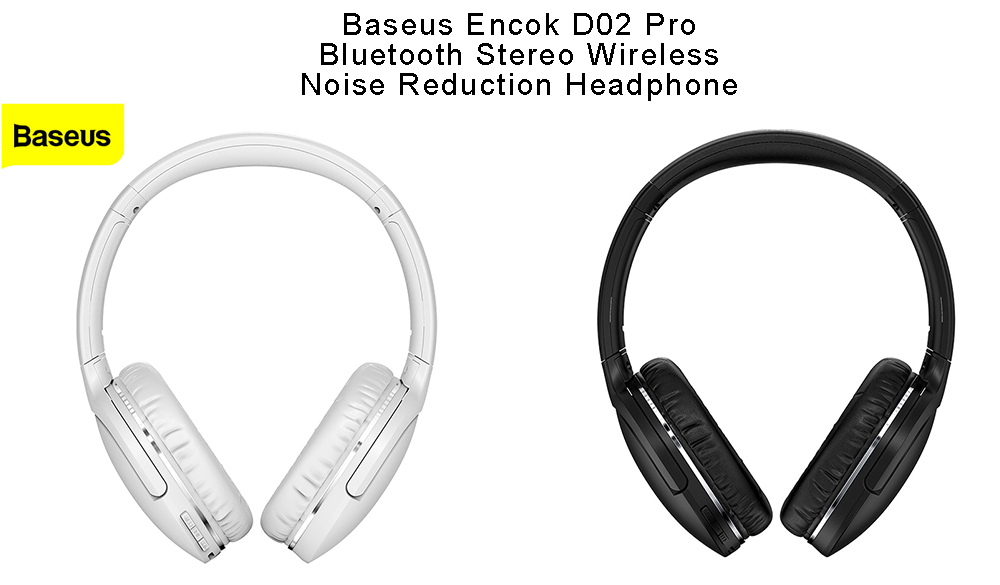
Baseus Encok D02 Pro – HKD$359
Setup Options for a Home Recording Studio
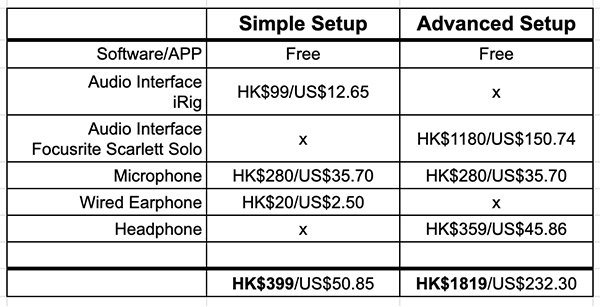
Based on your budget, you can generally set up your home recording studio in two ways, simple and advanced.
In both setups, the main difference lies in the option of your choice of audio interface and monitoring headphones. In the example below, your option for an audio interface can range from an affordable one like iRig or Melo TS Mini, which allows you to input a professional microphone via XLR cable.
You may also choose to have a higher quality audio interface with more options like the Focusrite Scarlett Solo, but the cost will obviously be higher too.
In conclusion, having a home recording studio can definitely up your game and provide you with endless hours of fun. As a beginner, you can start out with the basic equipment mentioned in this article and slowly upgrade as you learn more about what works best for you.
Rock On lnnl,
Related resources:
Cheap USB Audio Interface for iPad, iPhone, Android, PC & Mac
MeloAudio TS Digital Audio Interface Tone Shifter Mini
Record Bass To Your iPhone The Easy Way (Plus It’s Cheap-As-Chips)
How to Record a Song on Computer (Simple Explanation)
